Installation Instructions
1. Preparation
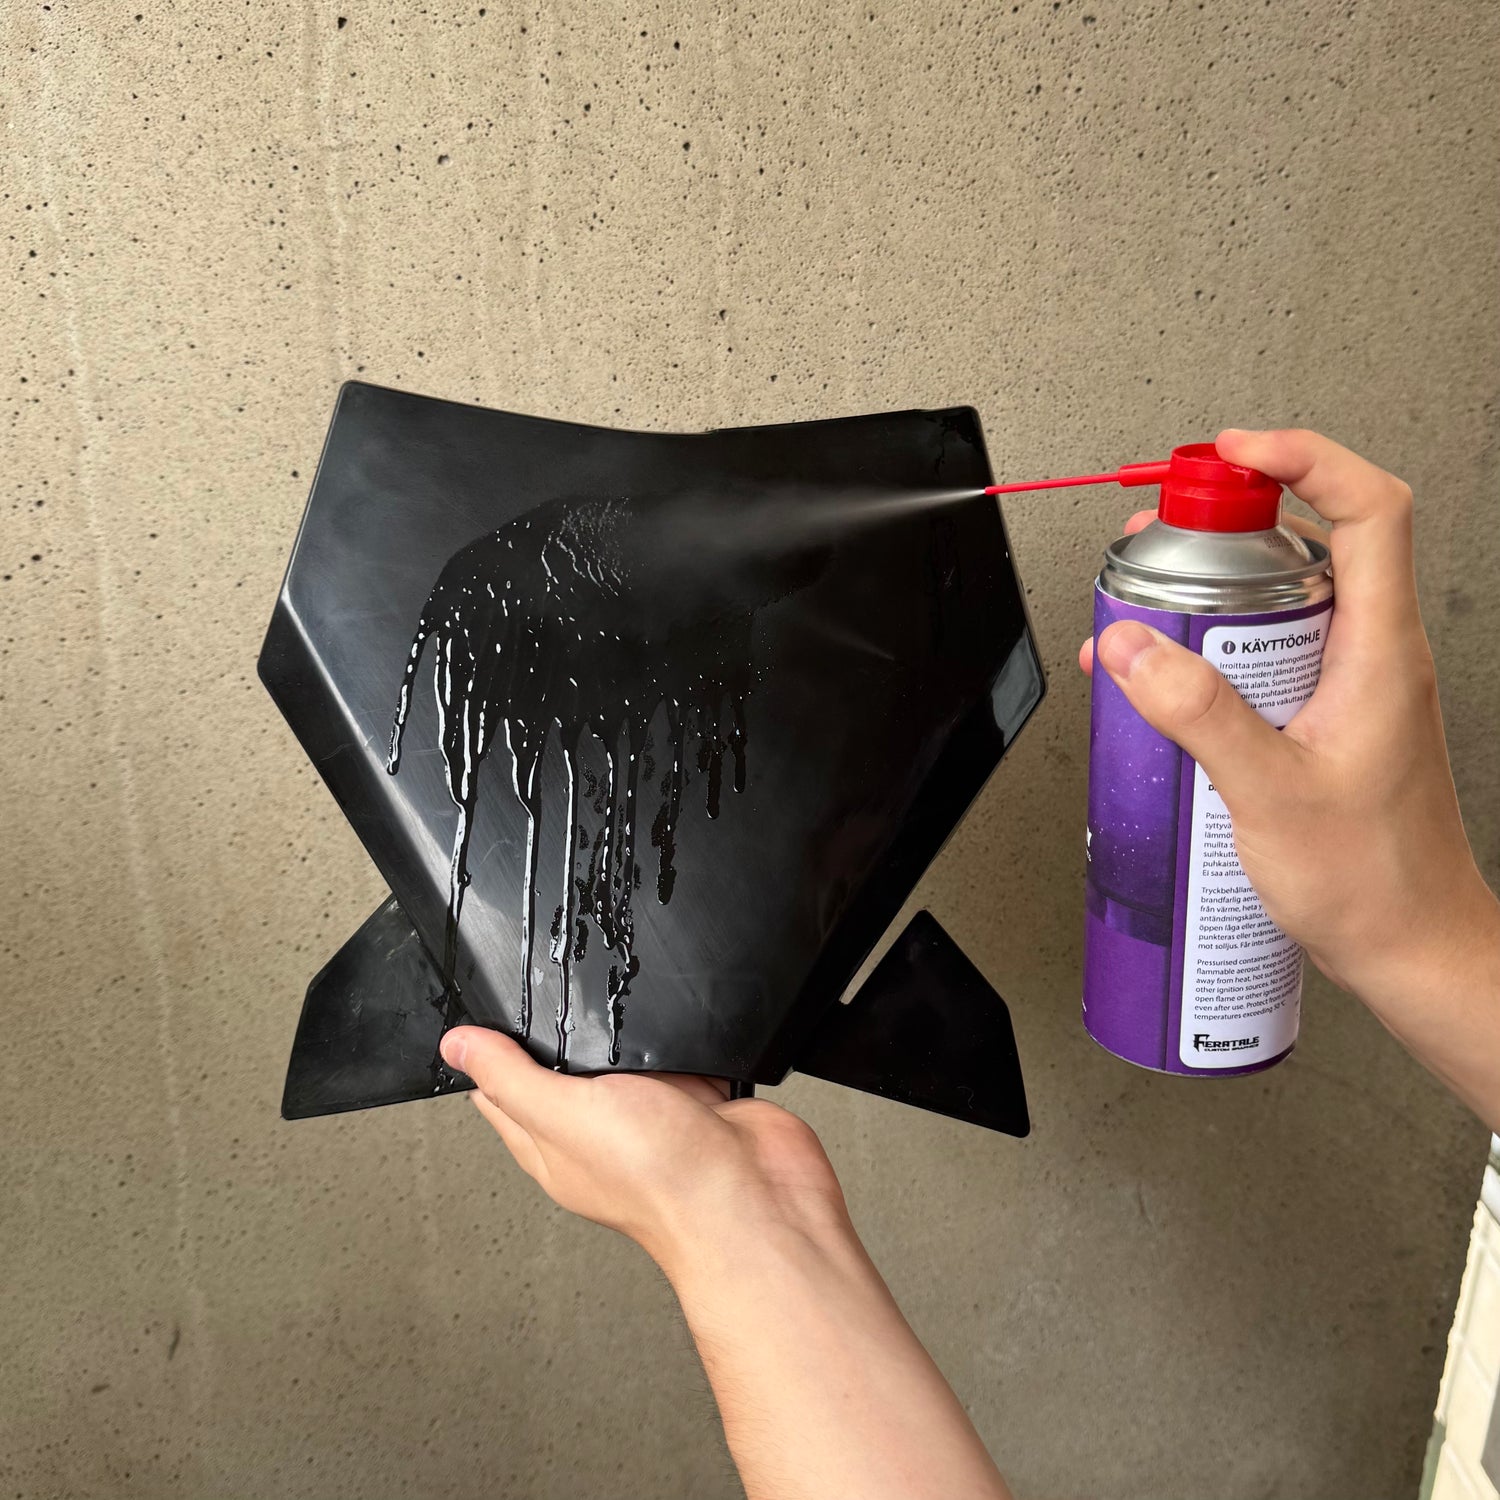
Thoroughly clean the plastics using a degreasing agent and make sure the surface is completely free of dirt, dust, and grease. If there are old decals on the fairings, use an adhesive remover to eliminate any residue.
In most cases, heat is not required when applying the decal. However, on tight curves you may gently warm the decal to help it conform better to the surface.
2. Positioning
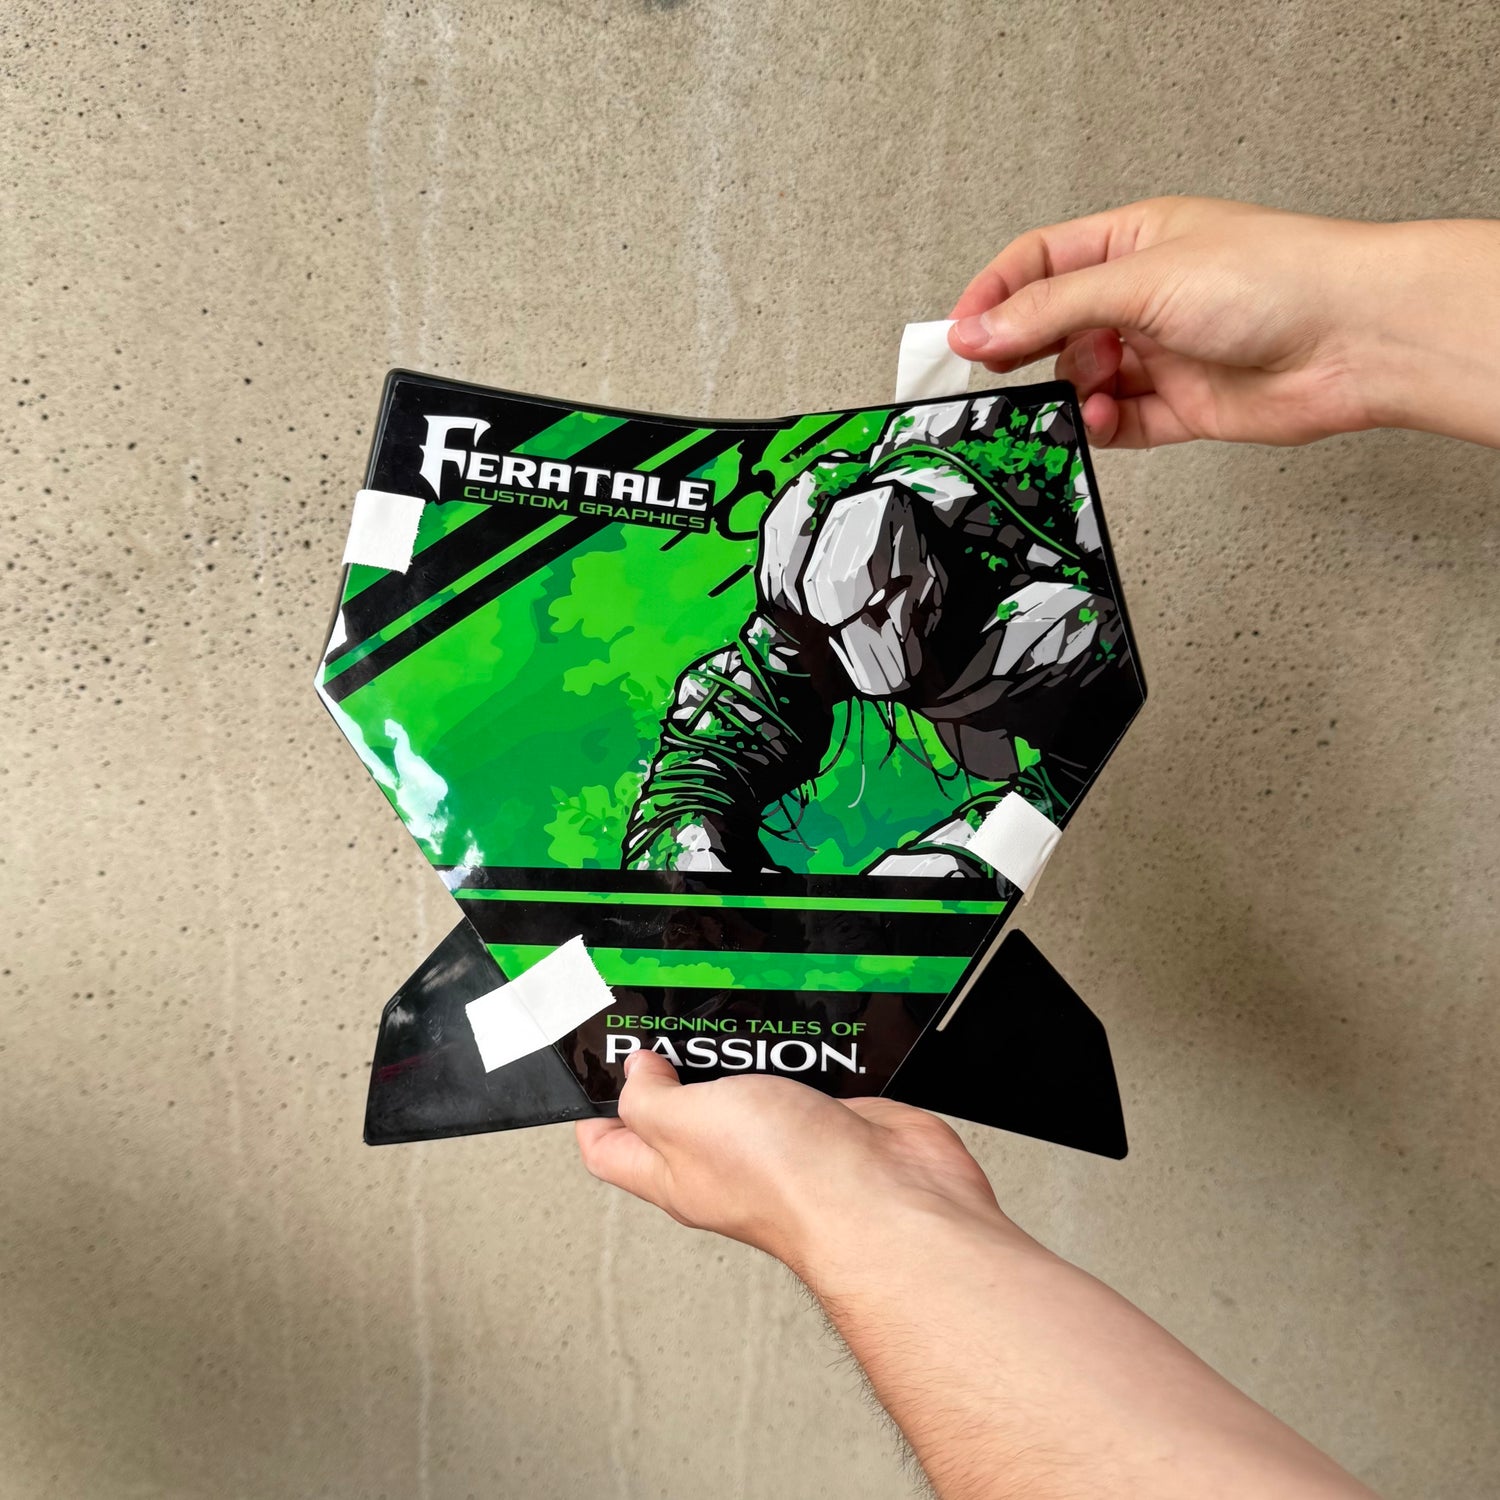
First, test-fit the decals in place without removing the backing paper to see exactly where each decal will sit. Make sure all decals align correctly before starting the actual installation. Use small pieces of masking tape to help with accurate positioning and alignment.
3. Decal Installation
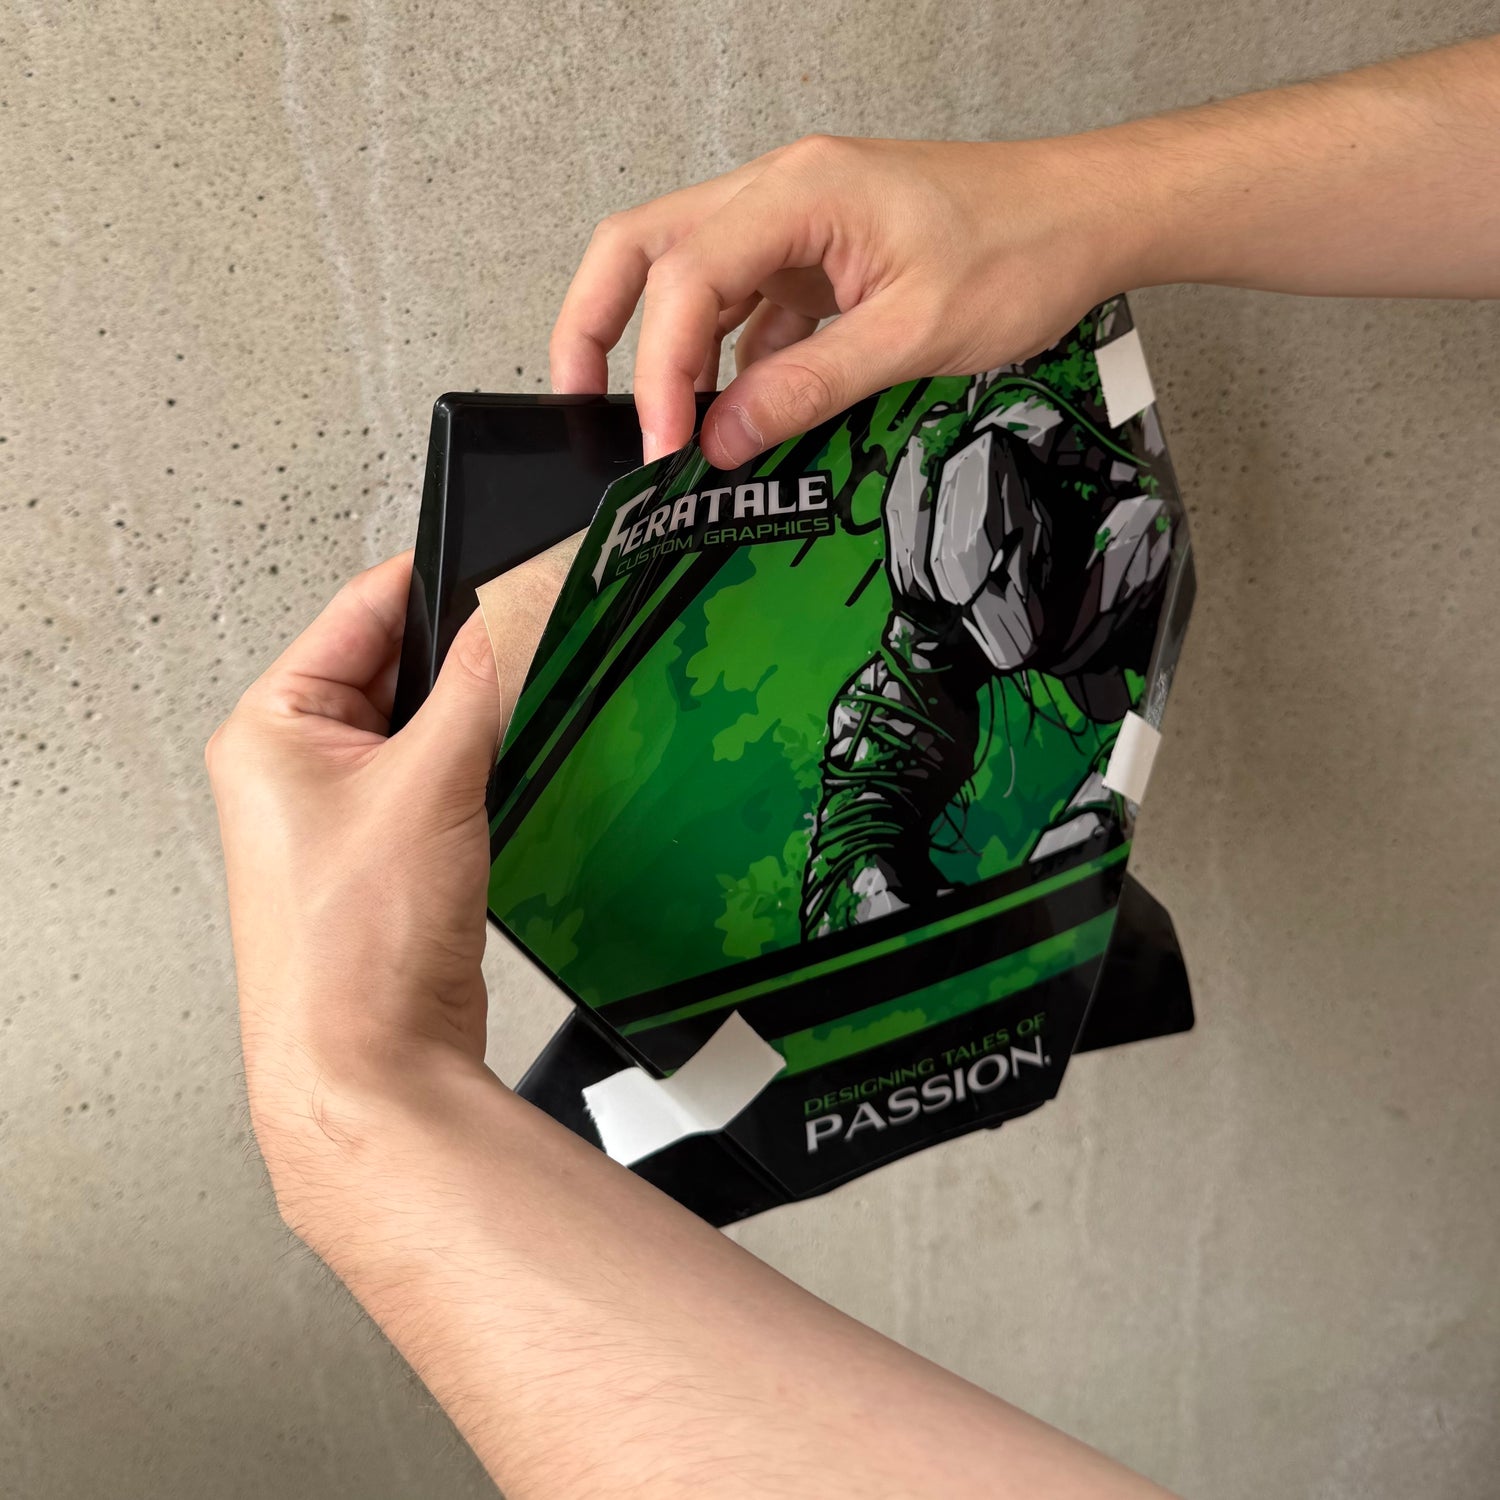
Start with the large and medium-sized decals, such as number plates or side plastics. Once the decal is correctly aligned, remove one piece of masking tape and partially peel off the backing paper. Carefully apply the decal from the center outward to prevent air bubbles.
If bubbles do appear, don’t hesitate to lift the decal and reapply it — a high-quality decal can withstand multiple adjustments.
4. Finishing Touches
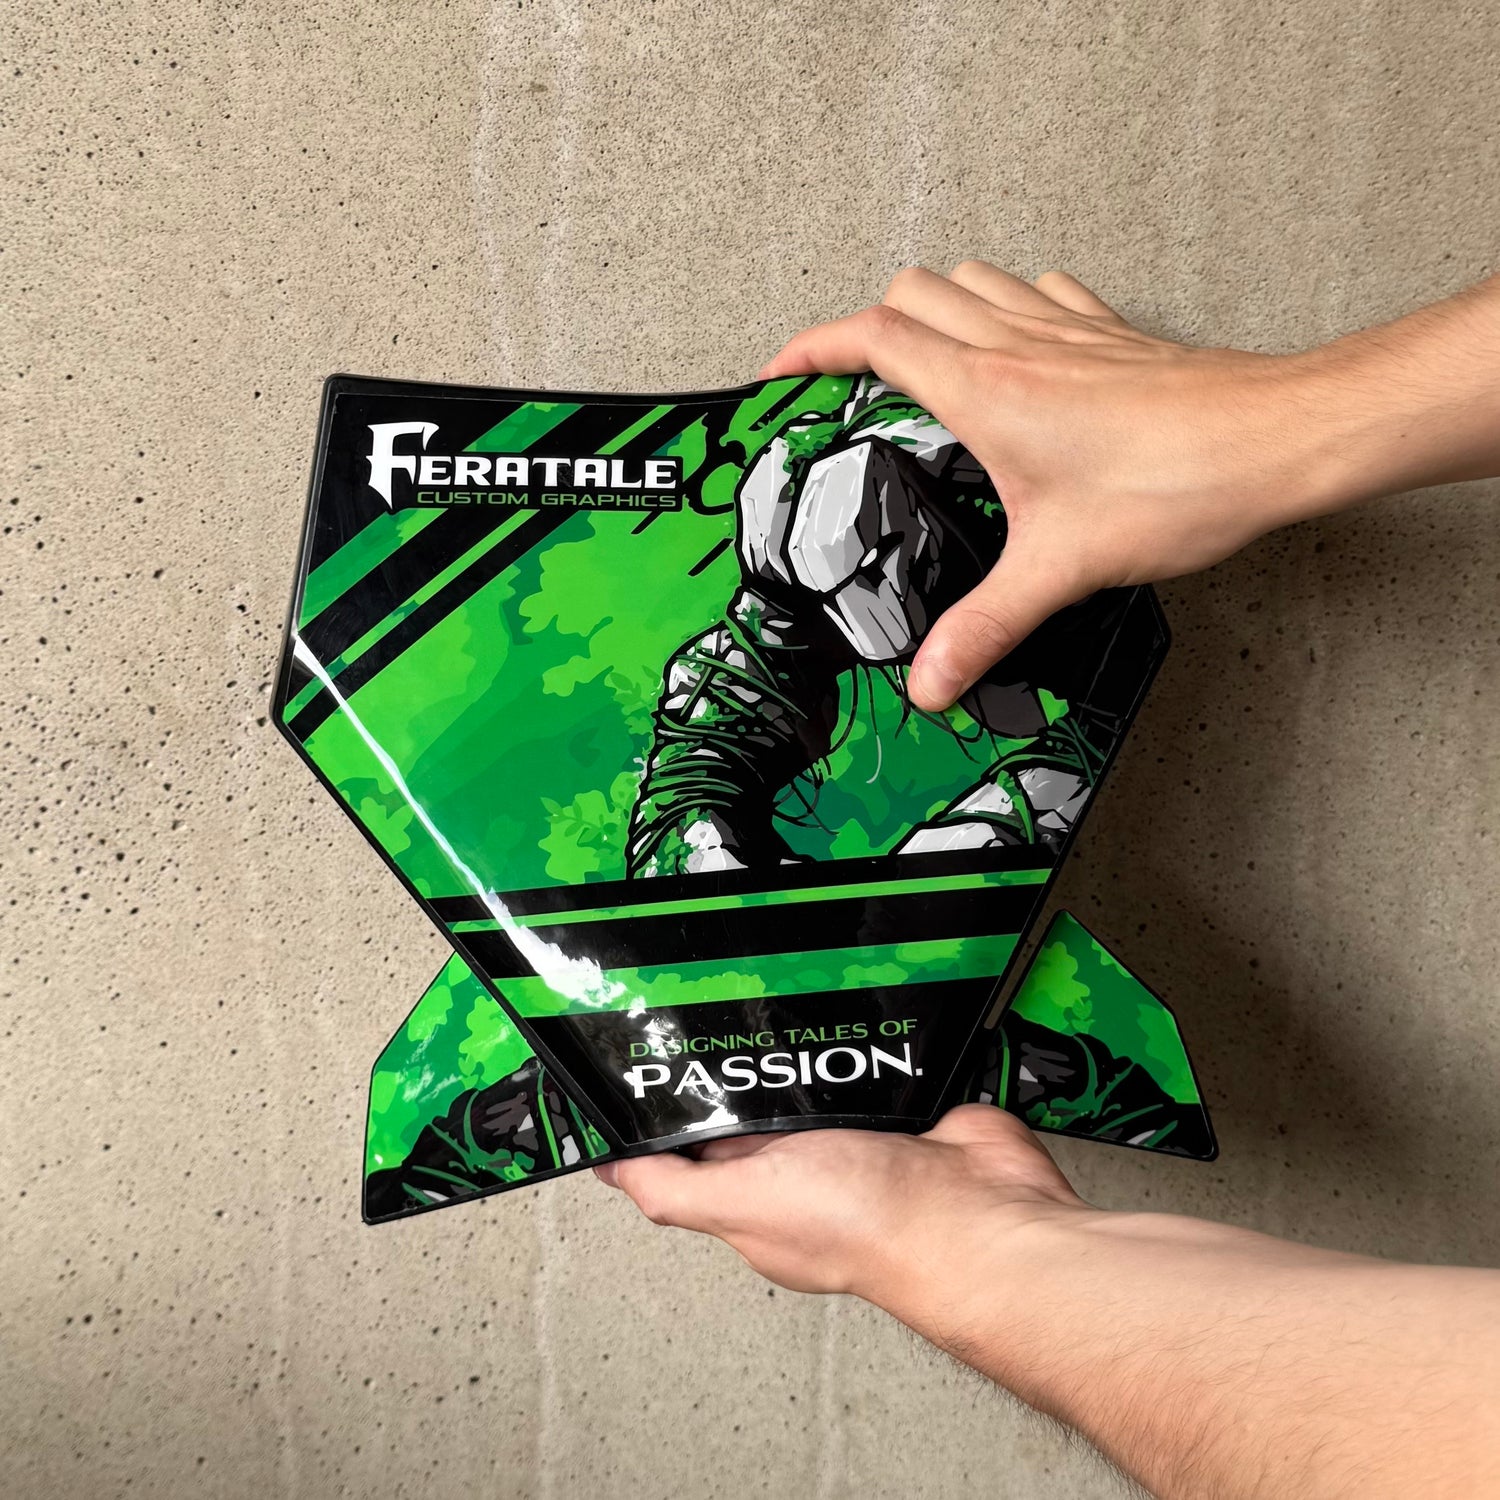
Go over all the decals and make sure the edges are firmly pressed down. Allow the decals to set for at least 24 hours before riding or washing the bike. If needed, gently press over the decals once more to ensure full adhesion.
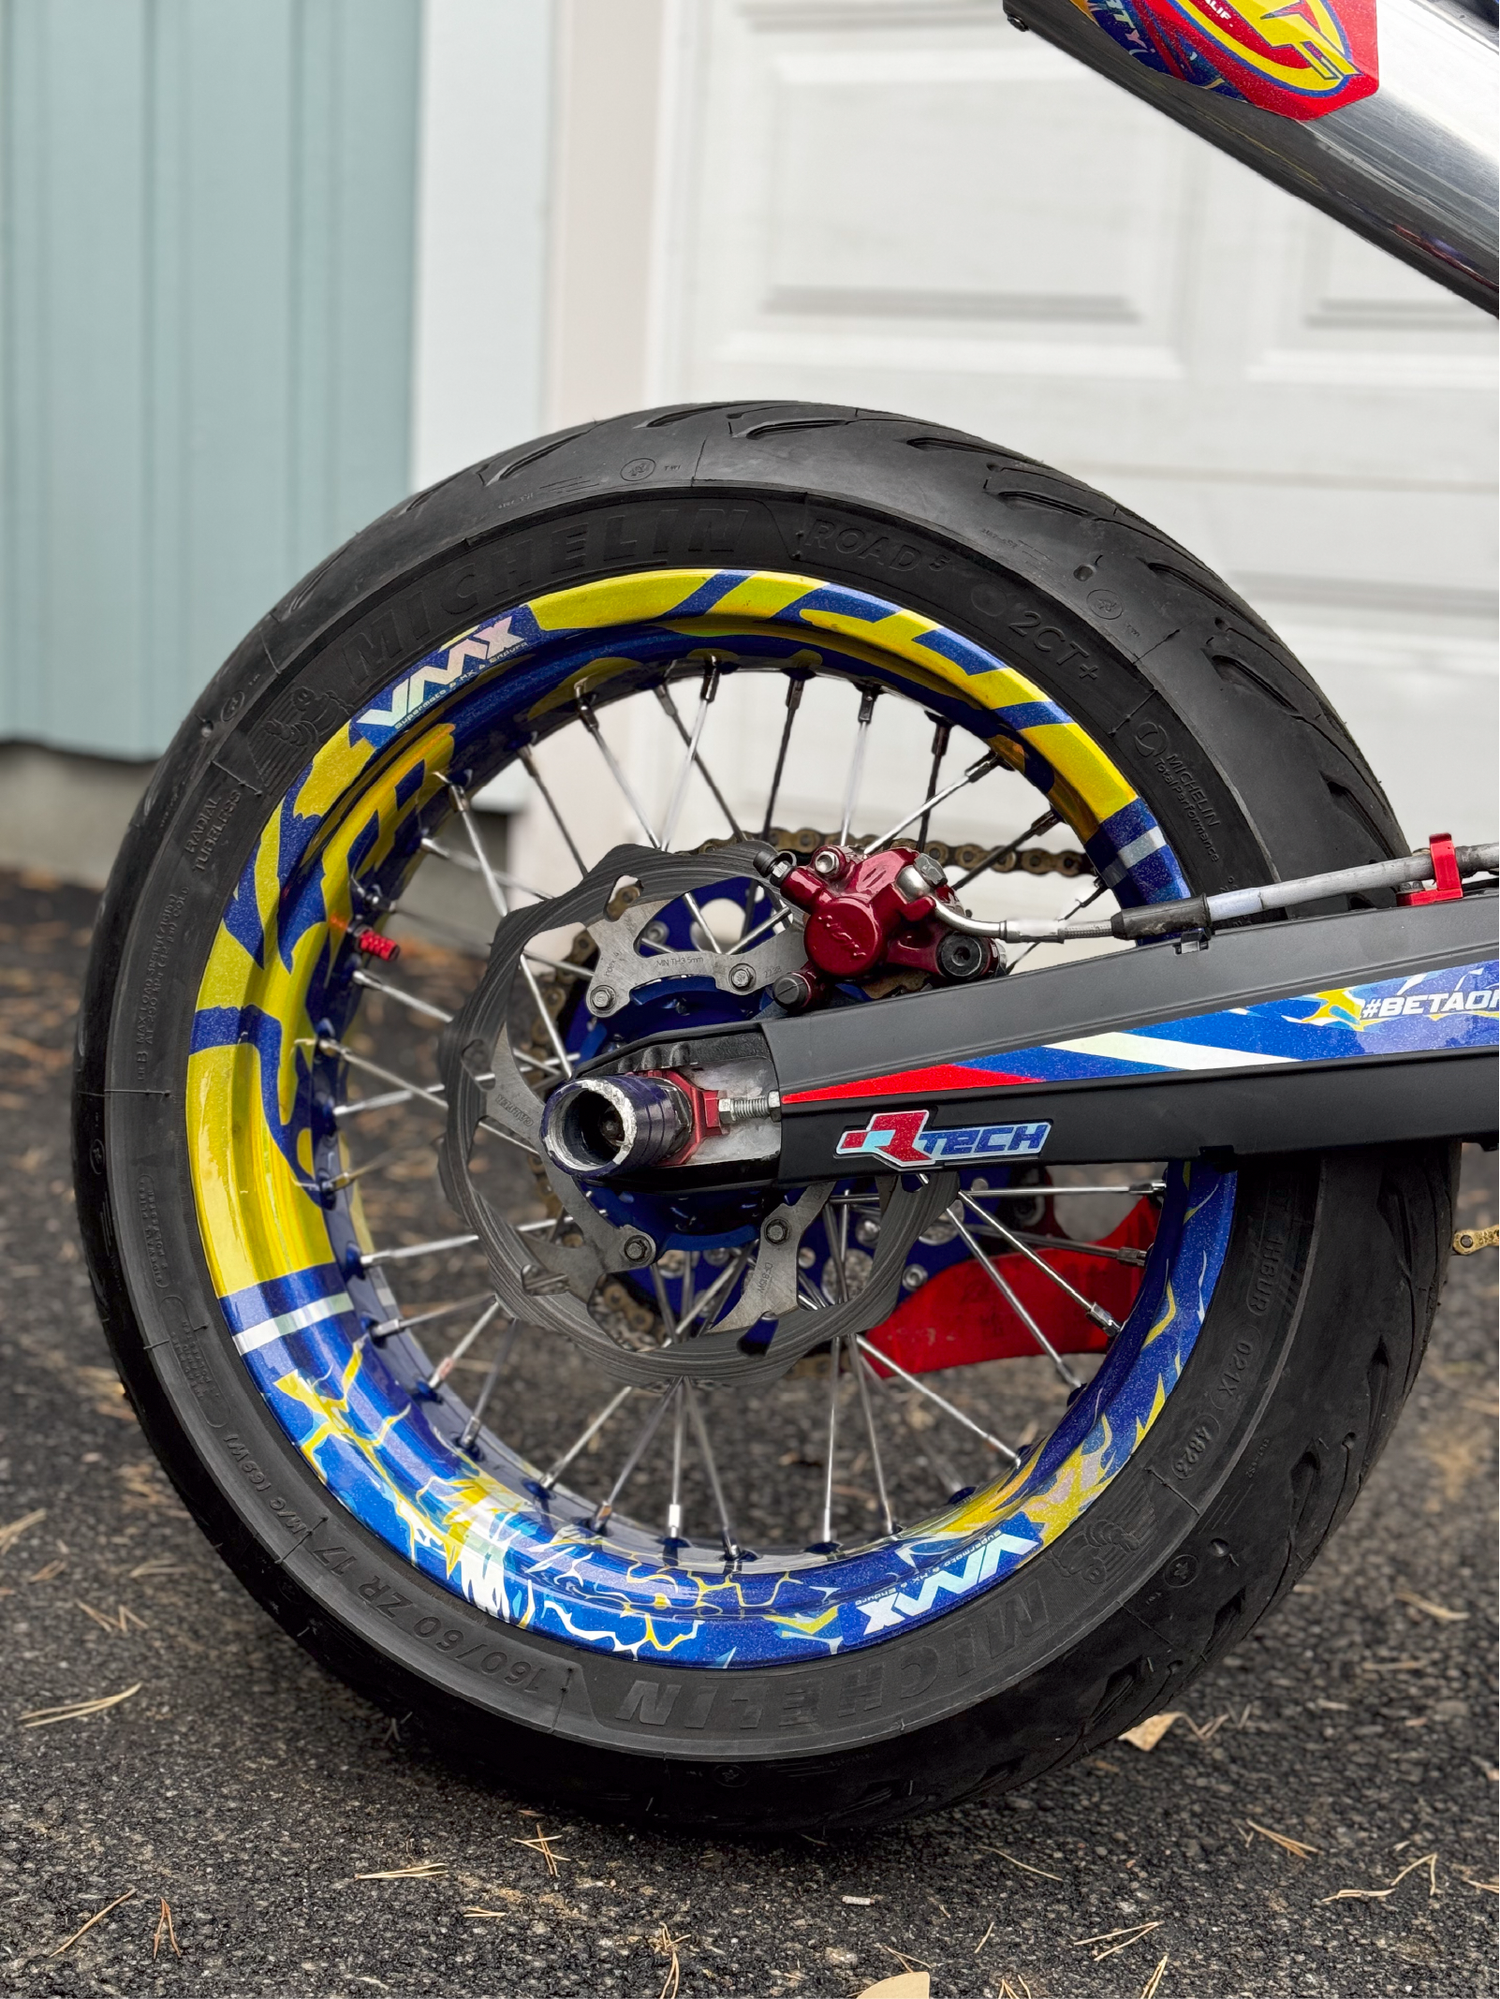
Wheel Graphics Installation
Position the edge of the rim tape as close to the spokes as possible, while ensuring the tape remains straight and even. First secure the center section of the rim, then slowly work your way toward the rim lip, pressing the tape down firmly as you go.
Warming the rim tape with a hair dryer often makes installation easier, as it helps the material conform better to curved surfaces.
Finally, carefully press the tape into the gap between the rim and the tire using a plastic squeegee or similar tool. Trim away any excess material carefully with a utility knife.